
- 23-Jan-2024
How to Wax a Floor with a Mop
.
Oct
25
How to Wax a Floor with a Mop
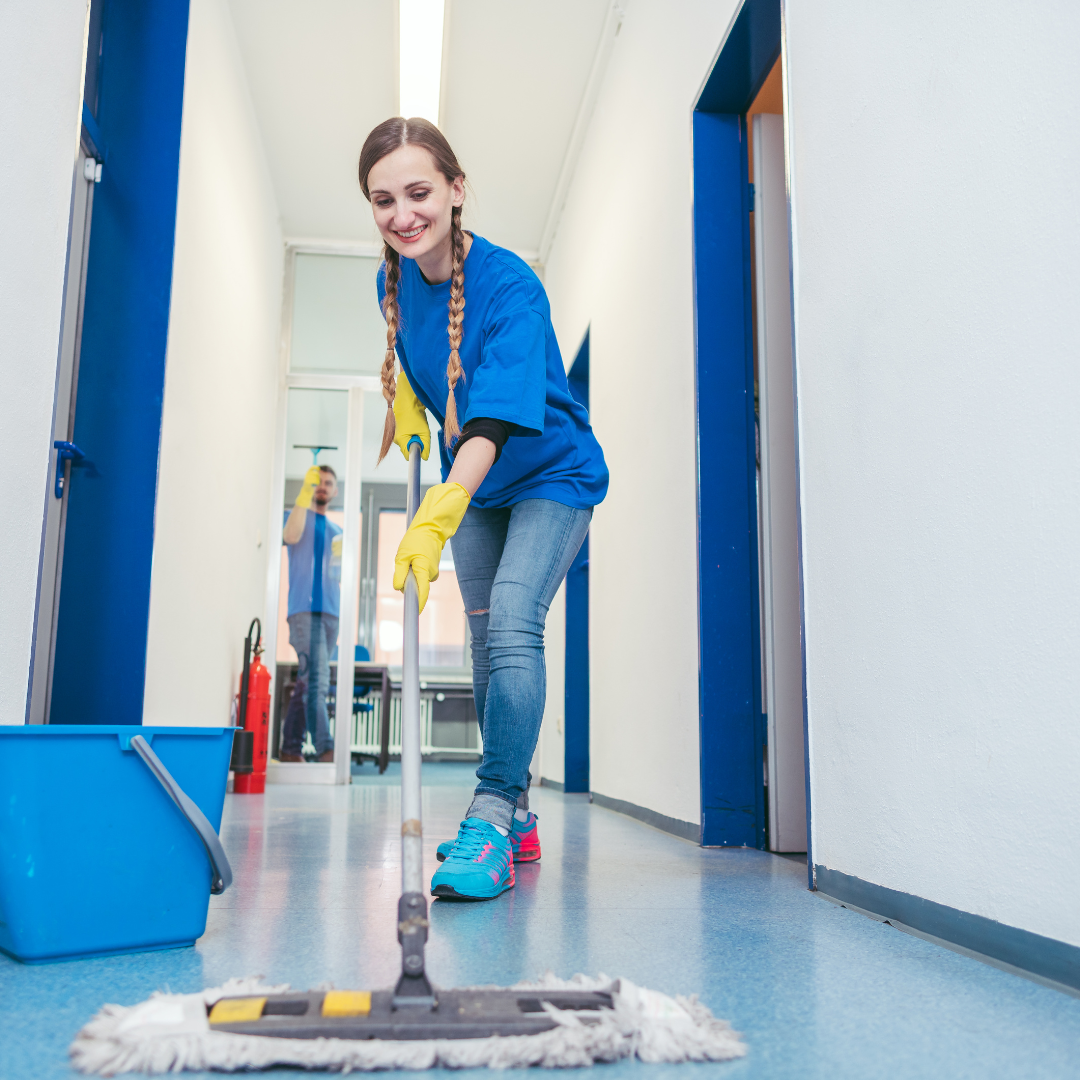
Polishing floors is an excellent practice to have floors and have them shiny. Although waxing a floor can be tiresome when done by hand, using the mop for floor waxing is much easier. Waxing with a mop is useful when you want to make widespread work and apply wax evenly on a large room area. As illustrated herein, waxing all sorts of hard floor surfaces using a mop is easy, provided that you follow these simple steps.
Before Starting
When you start waxing, you must ensure that there is no furniture or rugs on the floor on which you will frequently move. You must ensure it is clean so that certain things, such as dust and debris, are swept off the floor. The floor should be cleaned so that it can stick well to the wax; therefore, use the appropriate cleaning solution to mop the floor. Let the floor dry for at least 1 hour before you are supposed to put the wax. You only need to stir or shake the wax product before pouring some of it into your mop bucket to fill the floor area, but not to a
degree that will create serious difficulty in moving the mop.
Applying Wax with a Mop
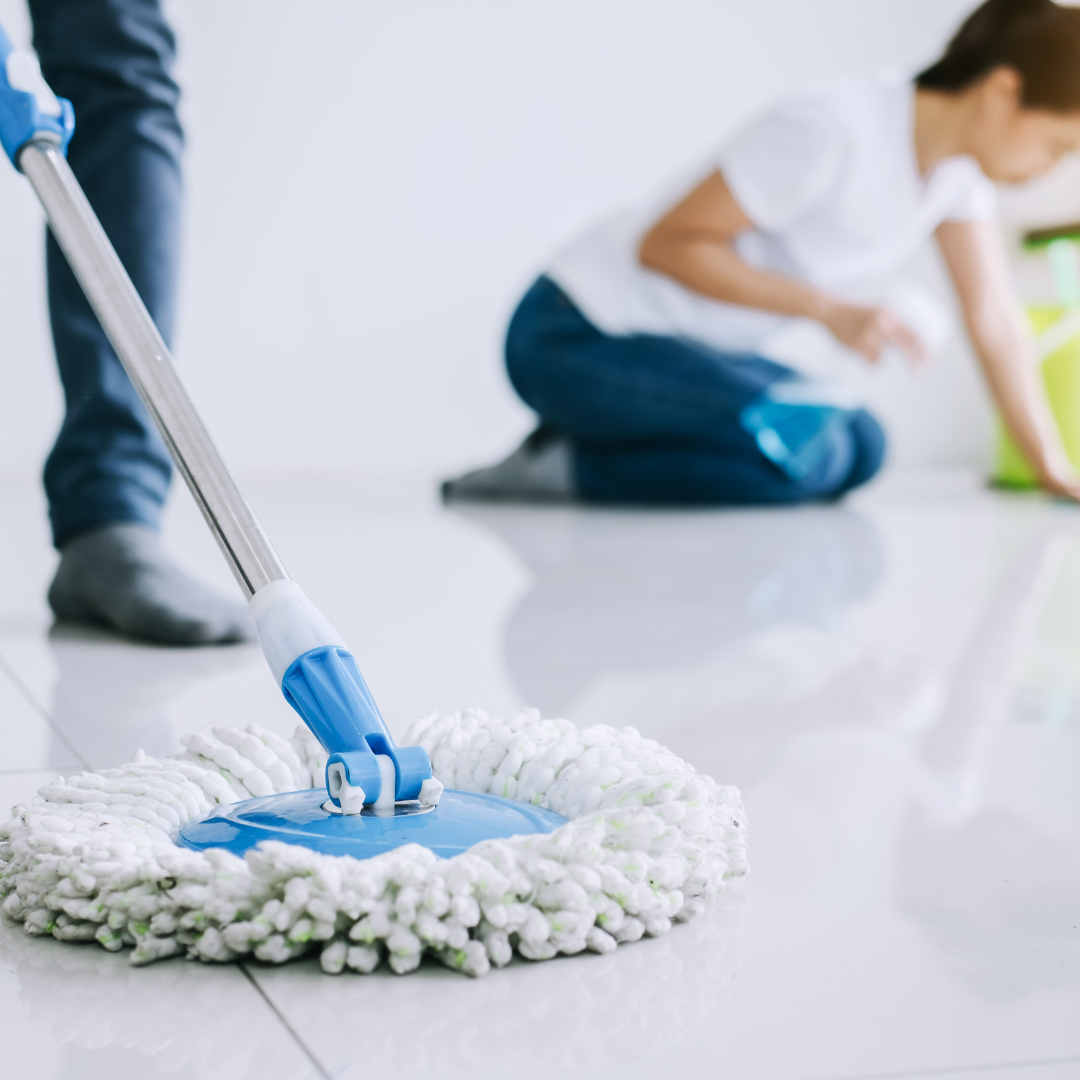
Dip Mop in Wax and Wring Out
The mop head is thoroughly dipped into the wax applied. Take the mop and then squeeze and twist it against the rollers of your bucket to squeeze and twist as much as possible out of the mop as possible. You only need the mop to be wet but not soaking wet. If applied in excess, it
accumulates on the skin, forming layers that compels peeling off.
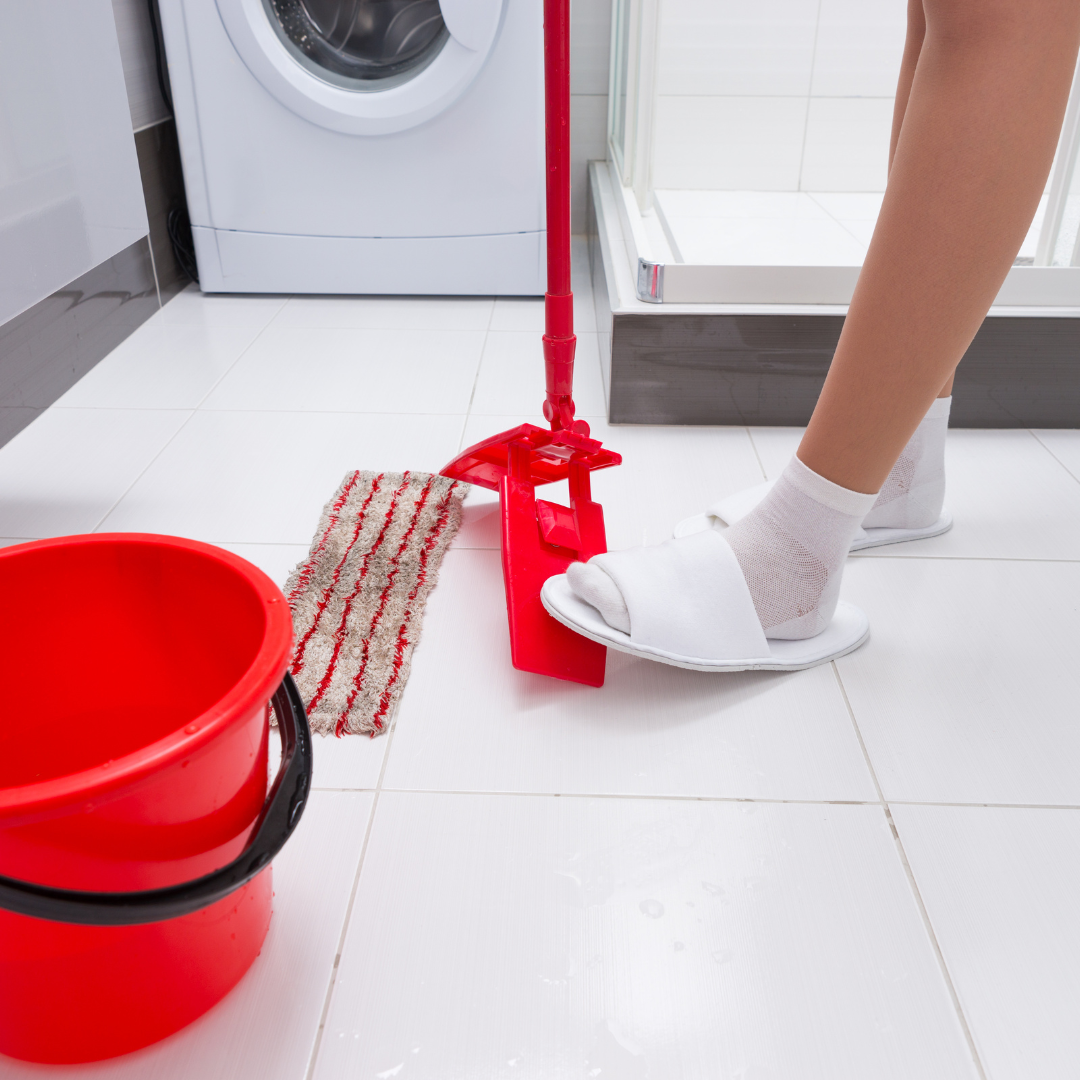
Apply Wax in Sections

When waxing, do one section at a time, preferably 3 x 3 feet, and use an ‘M ‘or ‘N ‘shaped pattern to thin layer the wax on the floor. Barely overlapping the brush strokes gives a more even coating to the work surface. Cut in with mop head turned sideways across edges and
corners. Do not streak by pubbing; constantly ensure the pressure applied is the same when pushing and pulling the mop. The mop should be re-wet and wrung when sections become dry while working in the honeycombed pattern.
Allow Time to Haze
Allow the first application to dry until the floor gets a cloudy look, which usually takes 10-20minutes. This means the solvents have evaporated, and the wax is ready to be given a final polish. That’s why during this period, one can’t pass across this surface: it might affect the
wax layer. After you have a uniformly hazy mixture, continue to the next step.
Buffing
Attach a Soft Pad
To polish the wax, the mop head has to be replaced with a soft polishing pad attachment. Regular terrycloth and microfiber are suitable. Make sure it fits the mop tightly. That is why you should preferably use Velcro straps or other fasteners. It should not harmfully capture other formations with debris beneath it.
Buff in Overlapping Paths
Just the same, with the broad M or N motions as before, buff the entire floor. Overlap and move in a programmed manner from one end of the room to the other. Apply even downward pressure. The friction from the pad will cause heat to melt and level the wax, adding frictions
to make a waxed surface smoother. Often, look at the floor while mopping to see the results. Buff for an appropriate amount of time until the sparkling effect within the hazy area is gone and the surface’s shine is optimal.
Allow Floor to Cure
When the floor has been buffed, it must be left long enough to harden before it can be used. It is advisable not to walk on the surface for at least 2 hours while the wax is hardening and up to 24 hours for the wax complete hardness. The wax will continue to increase its firmness for
days. Put ‘Caution’ signs if necessary to deter early traffic before other signals are out-shared or in-play. Continue with removing waste tools and equipment during the curing period.
Additional Coats (Optional)
However, to get a higher sheen and a longer coat life, more coats of wax can be applied after they dry, if you don’t mind the mess. Removing the mop pad and cleaning it before repeating the same process but using comparatively smaller amounts of the solution each time. Permit
hazing and buffing between applications. It is better to apply far more line layers than one thick layer since thicker layers create deeper luster.
Clean Up
Once the final coat has become a gel, wash mop heads, pads, the bucket, and all tools with mineral spirits or cleaning solvents of any wax product used. When using chemicals, always wear gloves and protect your eyes. To be sure that the stuff does not harden once it is still on
the surfaces, wash all the things that you use with water. Cleaning up during cure periods is effective.
Maintenance
Wax over time and traffic will melt in areas with high traffic. We recommended that floors be dust mopped, damp mopped or dry buffed with a soft pad daily to keep the shine. Bi-weekly look for scuff marks or signs of traffic lanes being formed. Use touchup wax only to areas
that require it instead of stripping the floor’s surface and rewaxing it over again. These floors can go many years on one set of all-over coatings, if adequately cared for.
Tips
−It also essential to test wax on another hidden area to check suitability for use with the
floor finish.
−Wax lightly; thick layers of wax may make floor look yellow and sticky.
−Work in ventilation; Some of the wax products have fully-blown pungent smell.
−Avoid spilling over the excess back into the original container to avoid contaminating
the product.
Conclusion
It is very simple to wax hard floorings using mops provided one follows some techniques and prepares in advance. Also, make sure that the floors of the locations to be photographed have been swept then tidied before waxing commences. Pull back dip-and-wring floor mop
applicator on wax to manageable areas when working. Haze/buff to desired shine. And make sure there’s enough time between coats and before application. Waxed floor finish dries fast and can easily last for years with proper care being granted on it. Just follow these easy steps
and your beautiful floor will stay beautifully perfect.
LATEST POSTS
-
-
 Is an Airbnb Cleaning Service Worth It?
- 10-May-2024
-

-

-
 Eco-friendly Cleaning for a Healthier 2024
- 25-May-2024
-
 Vacation Rental Cleaning Checklist
- 29-May-2024